24 February 2023
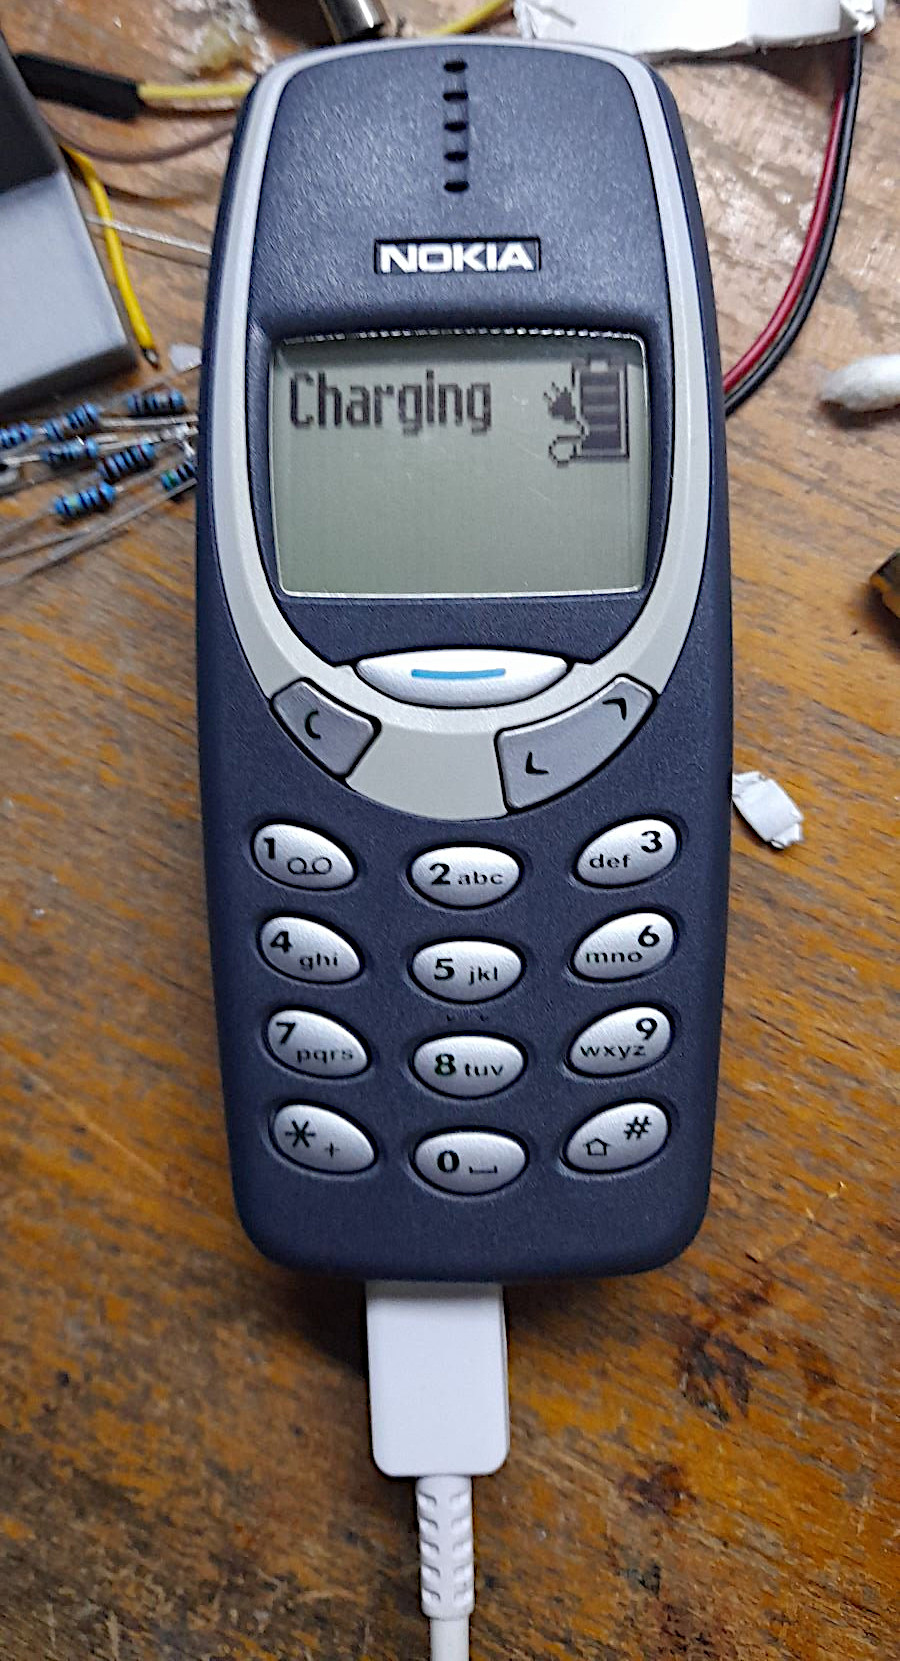
Recently I've bought an old Nokia 3310, with the intention of messing with its firmware using the internal F-bus connector. While I don't have the hardware necessary to do that yet, I've decided that in the meantime I would bring the phone into *current year* by replacing its charging connector with a modern USB-C port, and giving it a much larger battery. This also makes the phone an actual useful asset, as power outages are common where I live, and most modern smartphones I've used all had significantly worse cellular connectivity than this old Nokia. The end result is therefore an emergency phone that can hold charge for incredibly long and can make a call even where my main phone has no signal.
This page is a summary of how that process went, and what the results are. I've also bought a burner SIM card just for the phone so I could publish its number online, because I thought it would be funny (it was and still is). You'll be able to find that at the bottom of this page.
In a future post, besides the planned firmware modding, I also want to explore the possibility of giving this phone an external antenna connector, for some extreme 2G action and having connectivity even in the most remote, undeveloped, backwards places (Czech Republic).
As the phone came without a battery or charger, I had to do the battery modification first to even check if it works. Originally, I just wanted to get a proper replacement cell, but after searching and only finding really low capacity ones at absurd prices, I've decided that I'll just connect a generic Li-ion cell. Initially I wanted to strap a pack of two 18650s to the back of the phone, and while that would be funny, its likelihood of being mistaken for an IED made me reconsider. I am however considering getting a different old Nokia phone for the antenna mod (something that already has an external antenna), so this is still not out of the question.
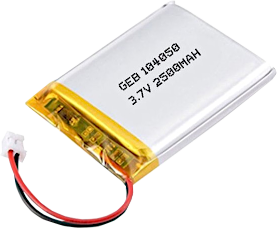
I also wanted to preserve the iconic look of the Nokia 3310, so I started searching for a less destructive solution. Simply looking in the small online store where I sometimes buy electronics and Arduino modules from, I've noticed a relatively cheap 2500 mAh Li-pol cell, with an integrated protection circuit, whose dimensions were suspiciously similar to the original Nokia 3310 battery, with all the voltage ratings matching.
Once it arrived and I actually started to think about how I'd do this, it turned out that neither the electrical or physical integration of this cell into the phone would be as straight-forward as I'd hoped. Firstly, despite the dimensions being similar, the new Li-pol cell was slightly thicker and wider. My plan of soldering the leads to the internal battery connector also didn't work, as there simply wasn't enough clearance.
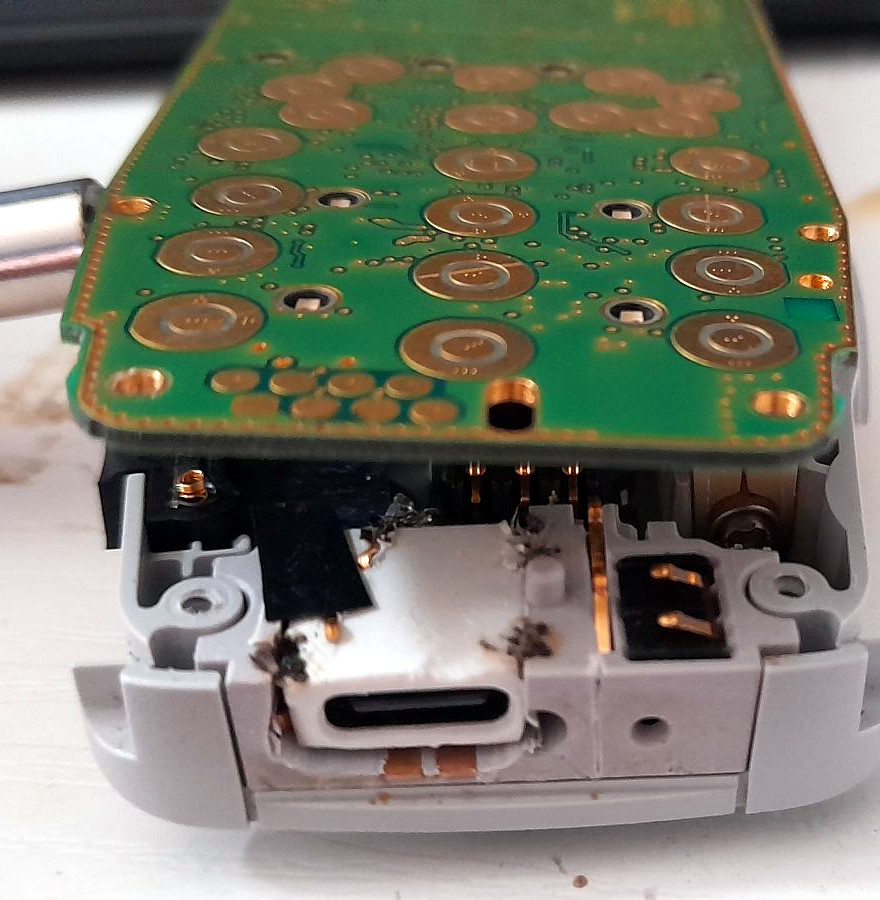
Luckily, the Nokia 3310 is incredibly modular, to a point where it puts all modern phones to shame. I could easily remove the battery connector module, and just run the Li-pol cell leads directly to the phone's PCB. I also removed the plastic bar that is used to pop the original cell out of the phone, as that wasn't needed anymore, and its removal cleared up a bit more scarce space.
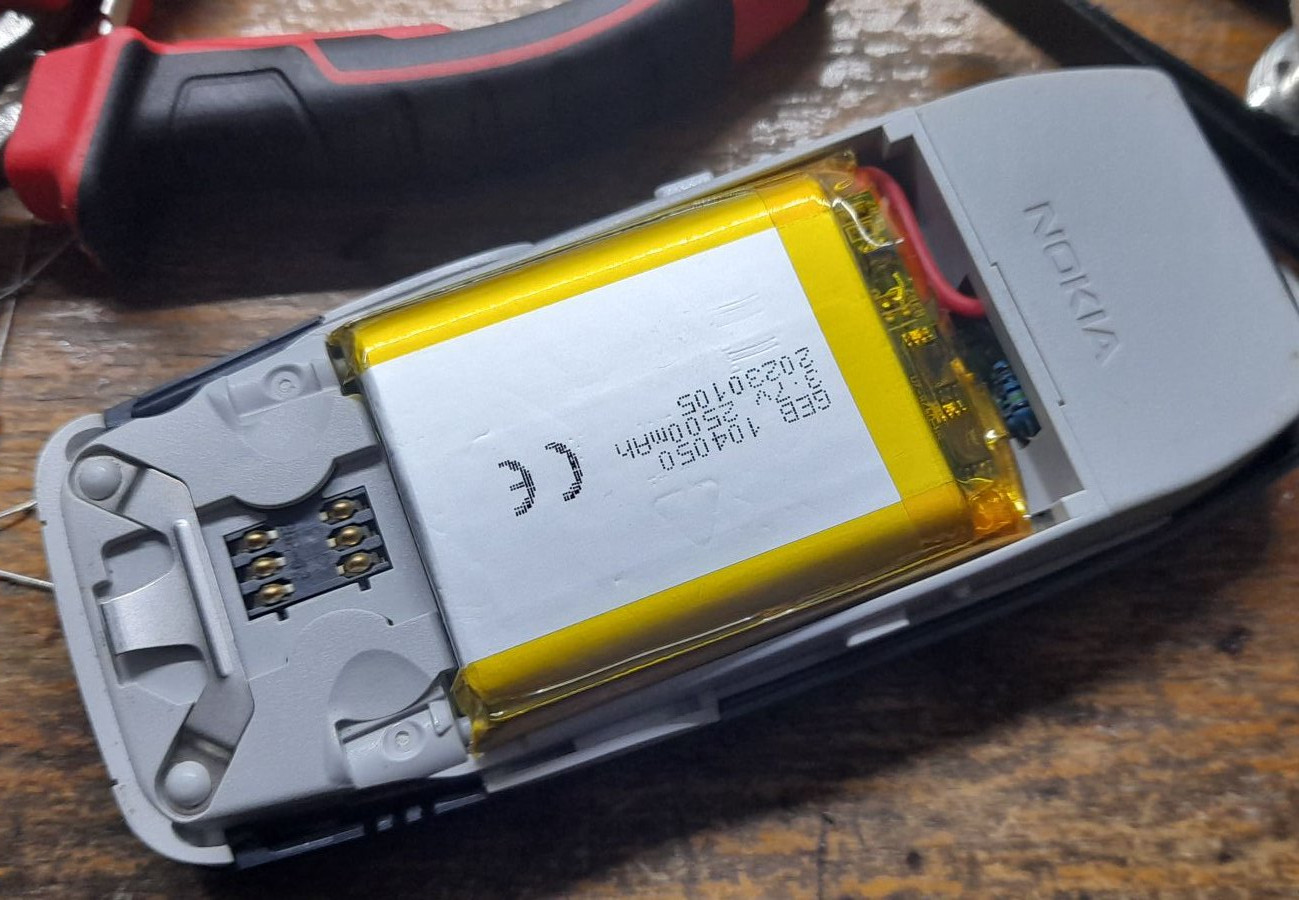
If you look closely at the above photo, you will also notice a bunch of resistors hiding in the new opening where the battery terminals used to be. This is what I meant by the electrical integration, because, as it turns out, simply soldering the power leads of the cell to the + and - pads on the phone will not work. If you've ever owned a phone like this and you took the battery out (either voluntarily or by dropping it on the ground), you would have most likely noticed that there are more than two connection pads on the cell.
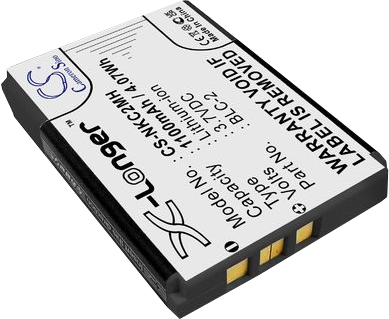
The original battery used by the Nokia 3310 has four terminals; two for the DC power itself, one for a thermistor, and one for cell type identification. The two latter ones are both referenced to the ground pad, and the phone will not turn on unless both are connected and signalling properly. The thermistor is essentially a variable resistor, whose resistance changes depending on the internal temperature of the battery. The cell type ID uses a fixed value resistor inside the battery, and the phone (more specifically the charge circuit inside the phone) can tell what type of cell is being used by measuring this value.
Let's start with the ID pad first. As it turns out, the Nokia 3310 does actually support charging Li-ion cells (works for the Li-pol in our case), which is enabled by connecting a 74.5kOhm resistor between the ID pad and ground. If a standard NiMH cell was used, the value of this resistor would be set to 5.6 kOhm. For the thermistor, I essentially just trick the phone into seeing a constant "room" temperature by connecting a fixed value 45kOhm resistor in its place. Here I have to credit this article from improwis.com, where I found the information about the pinout and the resistor values required.
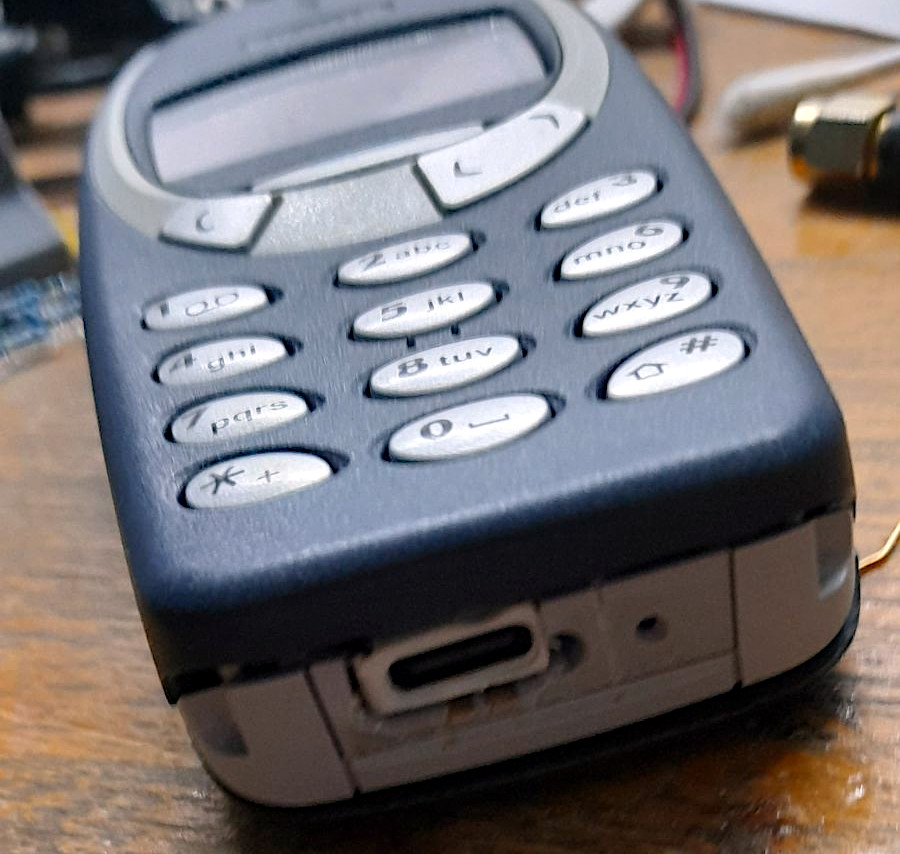
Once the resistor situation was sorted out, the phone happily turned on and indicated a full battery level. One of my concerns was that the battery indicator would be scuffed when using a completely different cell than what was intended, but after a full charge/discharge cycle it seems to be interpreting the voltage level correctly. There is however one issue introduced by the replacement cell, which is that now the phone's case doesn't close as tightly as it should (as you will see on the photos included, there is a small gap between the two halves). This is pretty much just a cosmetic issue though, as the two halves still snap together after some convincing and hold strong.
In the end, the 2500 mAh Li-pol cell is almost a 3x improvement over the default 900 mAh NiMH cell. After fully charging the phone and leaving it on standby (powered on, connected to cell network, receiving a couple SMS messages, ...) it lasted around 350 hours before turning off due to a low battery level. While the phone itself did indicate that the battery was running out, I am not sure if it turned off by itself or if the Li-pol over-discharge circuit kicked in.
Before I was able to charge it, however, I still had to figure out how I'd even do it. As mentioned earlier, I got this phone without a charger with the intention of replacing its DC jack with a USB-C port. Here I got extremely lucky - originally I wanted to put a tiny DC-DC step-down converter into the phone, which would bring down the 5 Volts coming from a USB charger to the 3.7 Volts which the original charger used. But, surprised once again, I found out that the Nokia 3310 can just accept 5 Volts directly. First I wanted to get some "official" confirmation that it is safe to do this, and I found a couple people online mentioning that the original car charger of the 3310 did in fact output slightly over 5 Volts. Also knowing that I couldn't be the first person to think about doing this, I searched for other people's attempts at implanting a USB-C port into this phone, and in at least one case learned that it can be just soldered directly to the 3310's PCB, without any voltage reduction.
I said I was lucky that I didn't have to use a DC-DC converter, because, once again, it turned out there wasn't nearly as much space available to do the USB-C modification as I imagined. I even had to sand down the panel USB-C connector I ordered for this modification so it would even fit inside the connector module. Speaking of which, this is yet another example of the 3310's modularity. All of the connectors and the microphone at the bottom of the phone are separate from the actual PCB. When the phone is put together, the connectors interface with the motherboard using tiny gold-plated spring contacts that press into pads on the PCB.
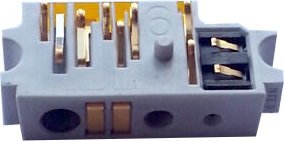
This allowed me to take out the entire connector assembly, grab a file, and simply grind out a channel in the plastic right through the original charger and dock connectors, where the much bigger USB-C port would fit. I also filed away two smaller channels in the USB-C port casing where I attached two of the original charger contacts that make a connection with the PCB when the entire thing is sandwiched back together. These are soldered to short positive and negative leads coming out of the USB-C.
The final result is far from being pretty, but I was happy that this solution worked out because it meant I didn't have to solder directly on the PCB. In theory this USB-C module can just be swapped between 3310s and other compatible phones without having to do any further soldering and modifications. Once I was done with this, I plugged in the same USB adapter that I use for my Samsung smartphone, and the Nokia 3310 started charging for the first time from USB-C.
I do believe that the efficiency of 5 Volt USB-C charging is much lower than what was achieved with the original 3.7 Volt charger, because the phone does get quite warm so it may just be shedding the excess voltage as heat. Looking at online repair guides and schematics, it appears that the chip responsible for charging is a "CHAPS-U423VZG36T", and I was unable to find any information or datasheets regarding it, besides a basic and incomplete pinout.
Despite some of these issues I encountered and the shortcuts I've taken, I am pleased with the outcome, especially because I managed to do the two modifications without anything external or any major changes to the phone's original look and form factor. I considered 3D printing a slightly larger back cover that would properly accomodate the bigger battery (or even one or two of the 18650 cells as I originally intended), but I simply don't have the CAD skills to design something like that, so I got really lucky that the original cover still just barely fits on.
As I mentioned, despite of this phone mostly being a funny gimmick, I didn't want to just do the modifications for the sake of doing them and then permanently shelving it. The extended battery life and the great signal reception of the Nokia 3310 (owing to the massive internal antenna, at least by modern standards) do make this a good backup phone, that I can just keep around in case of a power outage or simply issues with my smarthphone. Unfortunately, the Nokia 3310, at least with the firmware and configuration that mine came with, does not fully turn on without a SIM card installed (it simply hangs on "Insert SIM card").
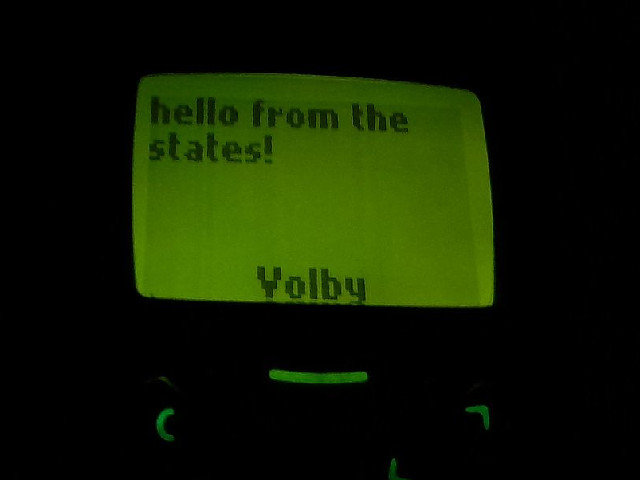
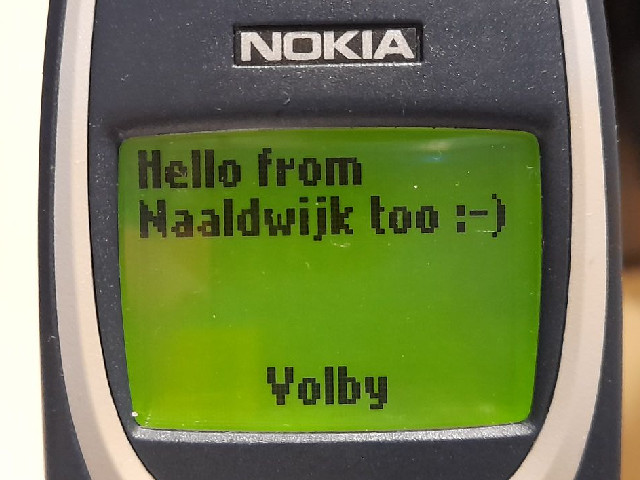
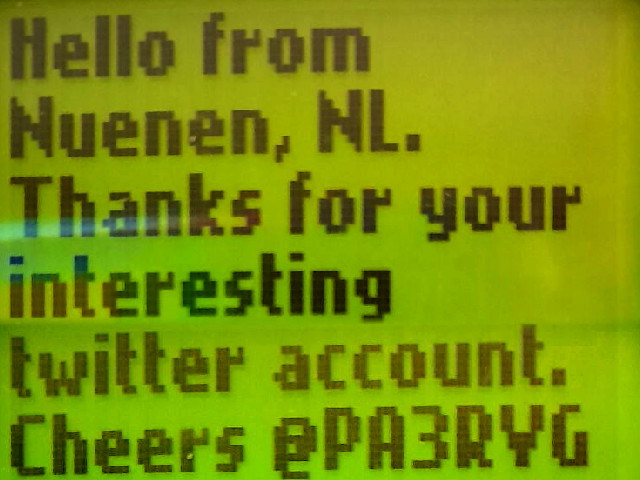
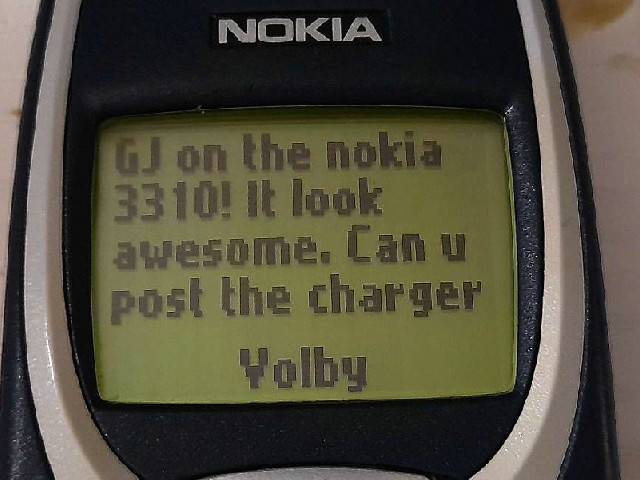
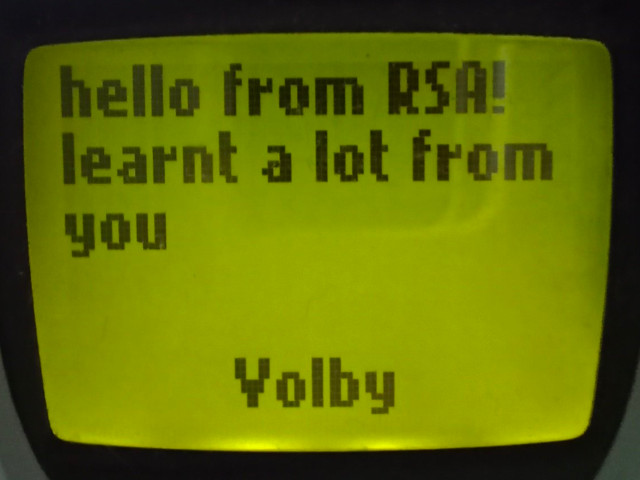
Now, I could have just put some old deactivated SIM inside and call it a day, but for the sake of funny I decided to buy a brand new burner SIM with a new number so the phone can at least receive SMS messages. I will be trying to keep the phone on 24/7 (which, arguably, isn't hard when it only needs recharging once every two weeks), so in case you really feel the urge to message this Nokia 3310, here's the number (it's a jpeg to prevent spam from bots);
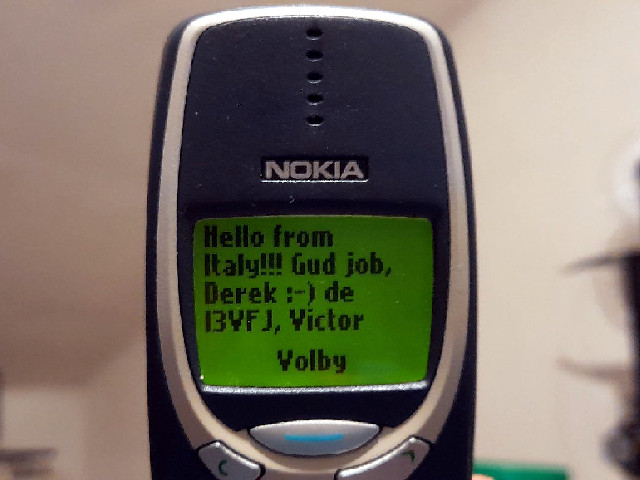
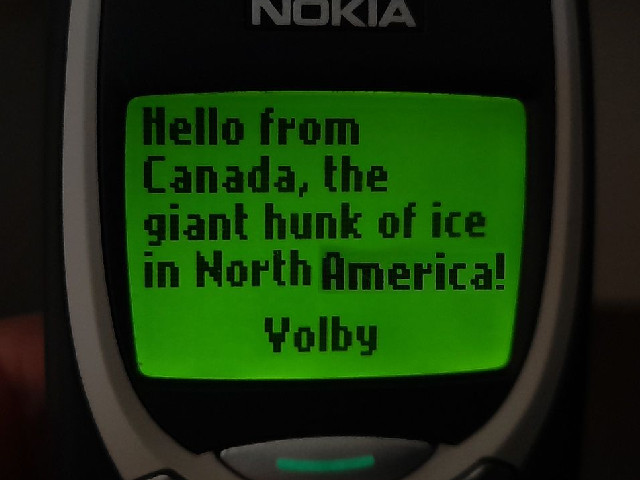
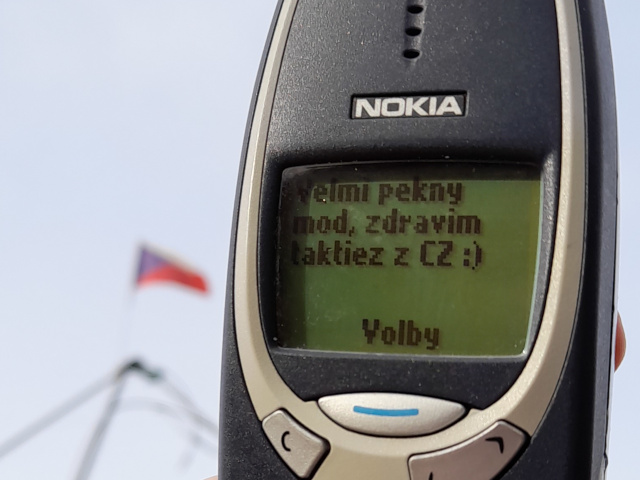
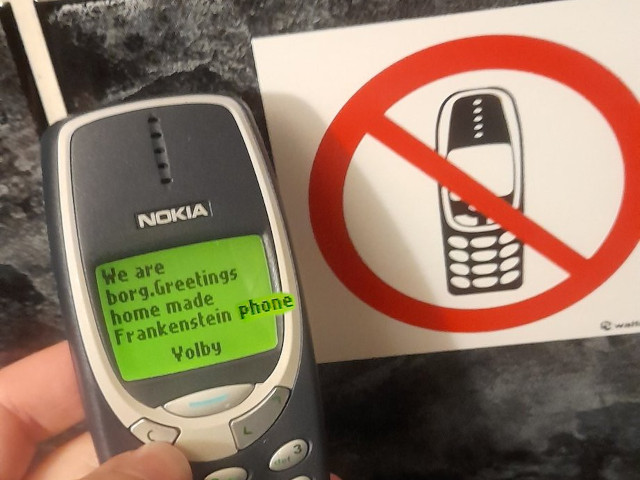
Don't expect a response or making a phone call though, as that would activate the data plan of this SIM and eventually make it run out of credit, and I can't be bothered to pay for more, but if you send something cool/funny/threatening I may put it on this page below (though I reserve the right not to). Keep in mind the character limit of the LCD though, so keep it concise to make sure it all fits on a single page. This may or may not be something I will come to regret doing eventually.
Thanks for reading if you read it, if you have any questions feel free to reach out using the social links on the main page (or send the SMS idk).